Each time I teach a lesson it gets a little better. It is always an opportunity for me to fine tune how I deliver the lesson which, in turn results in a richer learning experience for the students. When I teach this Charley Harper lesson I really want the students to understand how Harper used shapes. He took simple, geometric shapes, disassembled them and reassembled them to create new shapes that represented many different animals and insects. It is my hope that the students will learn how to do this as a result of doing this project. The thing that blows my mind about his work is that his designs have a realistic look to them even though they are created with the simple shapes he started with.
Here is a link to the post about the project last year.
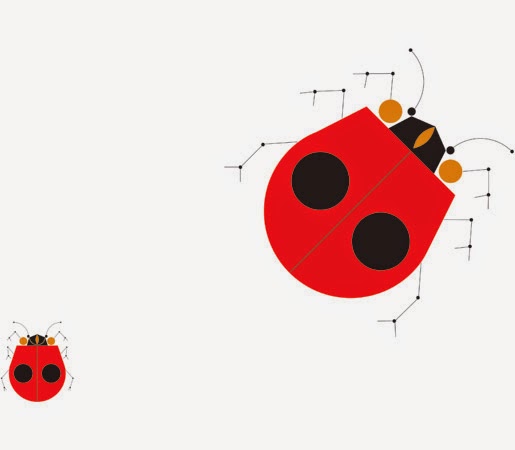
"When I look at a wildlife or nature subject, I don’t see the feathers in the wings, I just count the wings. I see exciting shapes, color combinations, patterns, textures, fascinating behavior and endless possibilities for making interesting pictures. I regard the picture as an ecosystem in which all the elements are interrelated, interdependent, perfectly balanced, without trimming or unutilized parts; and herein lies the lure of painting; in a world of chaos, the picture is one small rectangle in which the artist can create an ordered universe." -Charley Harper
We start by looking at a number of paintings and prints by Charley Harper, who was a Cincinnatian.
Next, the students decide on an animal they would like to create, Harper style. They gather some colors of construction paper and trace and cut out shapes. One requirement is that they must use a circle or part of a circle. Charley Harper used many circles in his art work!
Previously during this project I didn't see as much experimentation with the placement of shapes and use of shapes as I had wanted to. The results were not as "Harper-esque" as I would have liked them to be. This time around I encouraged the students to experiment with the arrangement of the shapes and look at photos of the animal they were making, and simplify the animal into geometric shapes. The students use stencils to trace, and I added a larger circle stencil to our collection. I demonstrated how to get a half circle by tracing a circle, cutting it out and folding it in half and then cutting on the crease. Fold a half circle in half and cut that in half. For eyes or tiny circles the students used a hole punch.


On the first day the students work on the animal designs I do not have glue on the tables, just because I want them to take some time to try a variety of arrangements of their shapes before they start gluing. The next time the students come to art I have glue on the tables and when they are satisfied with what they have they can start gluing.
After the animal is glued down to a background the students draw details in marker.
Below are some
in-progress designs by this year's 5th graders. When they are complete I will show the finished product. The students will identify the ecosystem of the animal and draw a background that suggests that ecosystem. (Science integration!!!)
Do you teach any lessons on Charley Harper? What would you do to improve this project? I would love to read your comments so be sure to post in the comment section below!
Next post I will share with you our visiting artist who played with fire and captivated every one of my 6th graders!