Showing posts with label art across the curriculum. Show all posts

Saturday, November 9, 2013

Microscopic Design Tiles

This lesson came from the School Arts Magazine from October of 2011, which you can view by clicking on the word MICROSCOPE.

I do this lesson with 6th graders.  The students are creating a design on a tile that is inspired by microscopic images.  This lesson extends across the curriculum because the students study cells in science.  The first thing we do is watch a Brain Pop video about cells after I explain that this project will be inspired by microscopic images.  Then I show a Power Point of microscopic images and I ask the students to look at the images as if they were designs and point out the elements and principles of art in them.

Each student gets a sheet of paper that is the same size as the tile that they will later be using and they begin to draw their design.  I explain that the design will be transferred to the tile so the students need to take their time and draw a finished design, not a quick sketch.  I encourage the students to use line and shape and that this is an abstract design.  They are not drawing things that we would recognize in every day life.

During the next art period the tables are set up like this .  The colors of glazes, for the most part, correspond with the colors of the tables.  Each table is assigned a different color with a sign above.  You can see this set up here.
I use these white, plastic lids as trays to keep the glazes on.  I am using underglazes and the students will later apply clear, gloss glaze after the designs are complete.
You might be wondering why I have a firing cone on the table!  Last year when I first did this project, at the last minute I realized that the students needed a way to write their name and class code on the back of their tile.  Otherwise it would be a nightmare trying to figure out who's was who's when we were passing them back each day. Pencil would just burn off in the kiln and I didn't have any special pencils meant for just that purpose.  So I was looking around in my ceramic supplies for something that might work.  I found these cones that are larger than the ones I use because there used to be a kiln in my room that used them but it was removed 8 years ago when I first arrived at this school because it was a dinosaur and did not work anymore.  I tried one out and it works like a piece of chalk and does not burn off when the tiles are fired.  So, this is what the students use to write their name and code on the back of their tile.
The students choose three colors that are contrasting.  I tell them to pick two light colors and one dark color or two dark colors and one light color.  The students apply three coats of each color, drying each coat in between (we use fans to speed up the drying process).  


 During the next class the students get back their tile and the design that they drew on paper two class periods ago.   This is the step when the students transfer the image to the tile.  First the students color the back of the paper with their pencil making sure the entire sheet is covered with graphite.  Then they turn it over on the tile, colored side down, and so they can see their design.  They trace the lines of their design with pencil, pressing down so the image is transferred to the tile. 


The next step is the fun part!  The students get two different scratch art tools, one with a rounded nib and the other with a pointy nib.  I tell the students to scratch the design and reveal all of the colors of glazes that they applied.  This process is called sgraffito and it is an Italian word that means "to scratch."


After the students have finished scratching their designs they apply three coats of clear, gloss glaze to the tile.  
I will post pictures after the tiles are fired.  I am excited to see what they look like finished!!!

Thursday, October 24, 2013

Ancient Egyptian 6th Graders


In the past I have taught self-portrait drawing and this year I decided to combine an ancient Egyptian Art and self-portriat project.   This project connected with social studies because the 6th graders do a unit on world cultures in social studies.   The 6th graders drew themselves as ancient Egyptians.  The first day of the project I began with the question "What are some reasons that we make art in the present day?"  The students brainstormed some ideas and I got answers such as "...for entertainment,"  "to make money," "to express yourself," "for decorative purposes."  I explained that the ancient Egyptians made art for different reasons than artists do today.  There may be some similarities, however, much of the ancient Egyptian art that we study today was made for religious purposes.  We talked about the ancient Egyptians' belief in an afterlife, the importance of mummification and the paintings on the sarcophagus and the tomb walls. We looked at some images of ancient Egyptian art from the Cincinnati Art Museum.  The students were amazed to find out that there is a REAL mummy there!  I showed them a picture of it and they were in disbelief that there was a real person inside.  We talked about  mummy masks and how they were like a portrait of the person inside the wrappings, sometimes even a glorified portrait.  We talked about some of the symbols used in ancient Egyptian art and what they meant, including the beard symbol for a Pharoah.  The students watched an episode of Reading Rainbow that featured the book "Mummies Made in Egypt," a book that explains how mummies were made.  


On the next day of the project the students began drawing self-portraits.  Each student used a mirror and I directed the class with steps for drawing the head and facial features.  I explained that I would be showing them how to draw general shapes of eyes, a nose and a mouth but they were to look at their own faces to see what distinct shapes their facial features had.  I gave the option of drawing natural looking eyes or "Egyptian eyes" and I demonstrated both.

We did not draw hair because in place of that we drew an Egyptian head dress.  I made five different simplified line drawings of head dress types that I drew from actual photographs so the students could see how to break down the steps to draw them.  I invited the students to use these if they needed an idea to get started and then they were to add their own designs.  One requirement was that they had to draw patterns in the design of the head dress.

After the portraits were complete the students outlined all pencil lines in Sharpie marker.  I provided thick and thin markers.  The students used colored pencils to color their self-portraits and I gave a demonstration on using colored pencils.  I instructed the students to begin coloring lightly.  Colored pencils are made of wax and pressing down hard when coloring coats the paper with wax so much that if you try to layer another color on top of the first color the paper is no longer able to take any more color because the surface has been burnished.  Coloring with a light pressure allows you to later blend more color in layers.  There were two options for coloring skin color.  The students could color their face with an abstract color, for example,  green or purple, or they could choose a natural skin tone.  I demonstrated how to use orange to create a peach skin tone: use orange very lightly.  Brown can also be blended with the orange if the student chooses or students could use brown only.  One requirement for coloring the face was to show value on the sides of the nose and the sides of the face so it looked three dimensional and not flat.

I think that the combination of self-portraits and ancient Egyptian art was a good match!


Monday, October 21, 2013

Charley Harper Animals in their Ecosystems

Charley Harper is an artist from Cincinnati that created dynamic animal designs by painting, collage and screen printing.  His animals were minimized to simple geometric shapes, and at the same time possessed a realistic way about them that gave them vibrant life.  You can learn more about Charley Harper here.

I introduced the work of Harper to my 5th graders and connected this project with science by teaching about ecosystems which is part of our 5th grade science state standards.

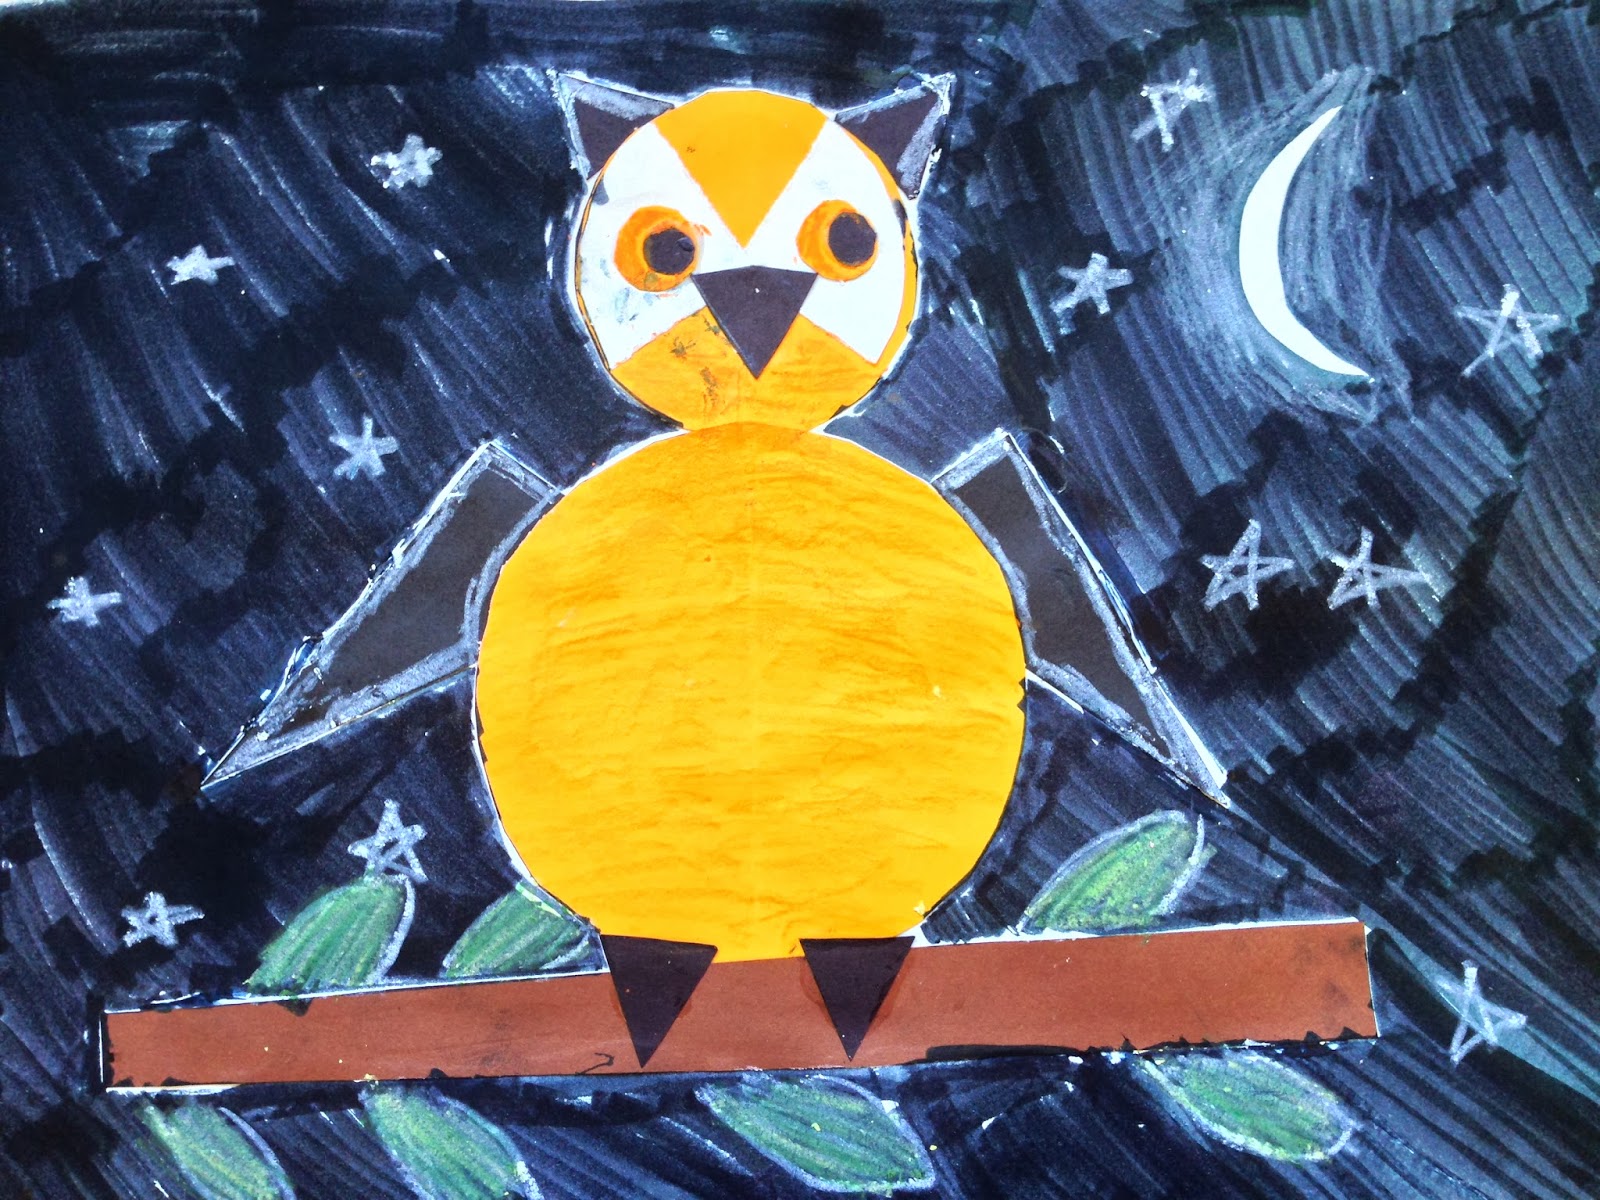
The circle must have been Harper's favorite shape because many of his designs include circles or parts of circles.  This became one of the requirements of the project.  After the students chose an animal to create, they were to use at least one circle or a part of a circle to construct their animal out of construction paper.  The backgrounds, which were the animals' ecosystems, were drawn with markers.  Stencils were used to trace circles and other shapes and rulers were used for straight lines.  The students were required to write the name of the ecosystem that their animal was from on the back of their paper.